How to Make Yarn Pom-Poms: A Fun and Fluffy Craft Adventure
- Blog Views : 1374
- Symfonie Yarns
- 17Nov, 2023
Who doesn’t love a squishy ball of fluff?! Pom-poms are like little bursts of happiness that can add a playful touch to anything – from hats and scarves to home décor and gifts. Plus, they're incredibly easy to make! Grab your favorite Symfonie Yarns skein and come with us on the quest to learn how to make them. We'll even suggest some vibrant Symfonie Yarns colors to make your pom-poms pop!
Materials You'll Need:
- Yarn
- Cardboard or Pom-Pom Maker
- Scissors
- Pen or Marker
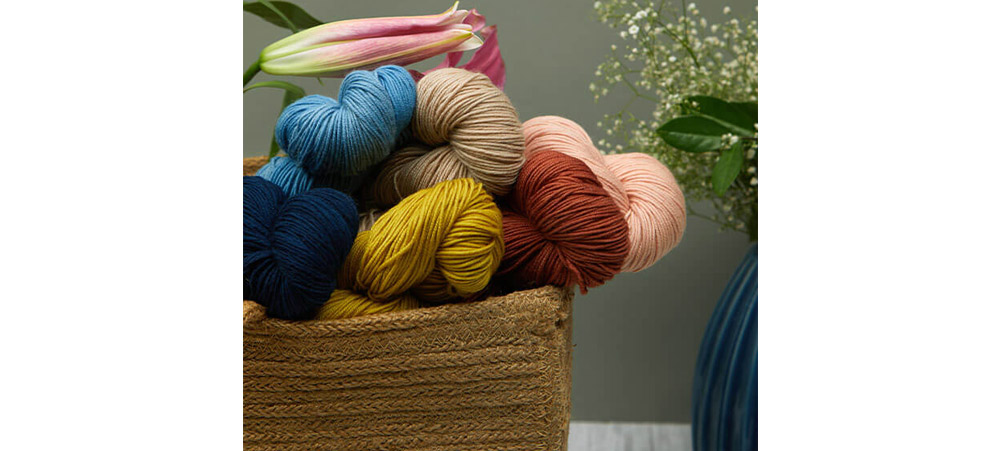
Step 1: Choose Your Yarn
The first step to pom-pom perfection is selecting your yarn. Symfonie Yarns offers a wide variety of colors suited for any kind of pom-pom project that you have in mind. For a subtle shimmery touch, consider Luna yarn in shades like Plum or Turquoise. A pom-pom in these colors will surely be a vibrant and luxurious addition to your creation. If you're in the mood for something bold and vibrant, Party Lights in Viva is an excellent choice for a striking variegated tone. The dynamic interplay of colors will infuse your pom-pom with energy and excitement, making it a standout addition to any craft or accessory.
Step 2: Create the Pom-Pom Template
Grab a piece of cardboard or a pom-pom maker if you have one. If you're using cardboard, draw two circles (the size depends on how big you want your pom-pom) and cut them out. Place the circles together to form a doughnut-like shape with a hole in the center. Make sure that the cardboard you’re using is sturdy and won’t bend with slight pressure!
Step 3: Wrap the Yarn
Now comes the fun part. Take your chosen yarn and begin wrapping it around the cardboard or pom-pom maker. This step is all about adding volume and fluffiness to your pom-pom; so don't be shy – feel free to go wild with your wrapping!
The more you wrap the yarn around the cardboard or pom-pom maker, the fuller your pom-pom will become. Keep winding the yarn around until you achieve your desired level of fluffiness. You can experiment with different amounts of yarn to create pom-poms of various sizes – whether you're aiming for a dainty, petite pom-pom or a big, bold one, it's all in your hands.
Step 4: Secure the Yarn Bundle
Once you've wrapped your chosen yarn around the cardboard or pom-pom maker to achieve the desired fullness for your pom-pom, the next step is to secure the yarn bundle. To do this, you'll cut the yarn and carefully slide the bundle off the cardboard or pom-pom maker. This is a crucial moment in the pom-pom-making process, as it sets the foundation for your pom-pom's shape.
To secure the pom-pom, take a separate piece of yarn, typically around 8-10 inches long, and thread it through the center hole of your yarn bundle. This piece of yarn will be used to tie and secure the bundle tightly. As you pull both ends of the yarn piece, it cinches the bundle's center, creating the classic pom-pom shape. To ensure the bundle is securely fastened, consider tying a double knot. That way, you won’t have to worry about it coming undone in your next steps!
Step 5: Transforming Loops into Fluff
In this step, you'll work your magic and transform your yarn bundle into a delightful, fluffy pom-pom. This is where the real transformation happens, as you turn those loops into the soft, fuzzy texture that characterizes a pom-pom. With a pair of sharp scissors in hand, carefully cut through the loops on both sides of your yarn bundle. While cutting the loops, it's essential to take your time and be precise. Make sure not to rush or accidentally snip the securing string that you tied in Step 4. You want to trim the loops and create an even and fluffy pom-pom without compromising its structure.
Step 6: Fluff and Shape
With all the loops cut, your pom-pom will look a bit wild. Give it a good shake and gently fluff the yarn to create a round shape. Don't worry if it looks a bit uneven; we'll fix that next.
Step 7: Trim and Shape
Place your pom-pom on a flat surface and carefully trim any uneven bits to create a perfect, round shape. Be patient, and don't rush this step – it's where your pom-pom truly takes shape.
Step 8: Voilà – You Have a Pom-Pom!
And there you have it – your very own fluffy, fabulous pom-pom! Attach it to a hat, keychain, or even a decorative pillow to instantly add a touch of whimsy and color to your life.
Whether you're a seasoned crafter or just looking for an easy DIY project, making yarn pom-poms is a fun way to add charm and color to your creations. With Symfonie Yarns' vibrant skeins, you’ll end up creating pom-poms that will truly pop any of your crafts!
-
- 08 Dec,2025
-
- 02 Dec,2025
-
- 27 Nov,2025
-
- 24 Nov,2025
-
- 19 Nov,2025
-
- 17 Nov,2025
Copyright © Symfonie Yarns 2025 - all rights reserved | RSS Feed