Crochet Wall Hangings as Gifts: Handmade Love for Your Loved Ones
- Symfonie Yarns
- 19Mar, 2024

We’d all agree on this: there's something inherently special about a handmade present. It transcends the material aspect, carrying with it the essence of time, effort, and a personal touch. Crochet wall hangings are one exquisite way to express this sentiment, each stitch woven with care and creativity. We’re here with a very unique crochet wall hanging pattern for you, and that includes the all-time loved waffle stitch! The timeless waffle texture adds a touch of sophistication to any home decor, making it a perfect gift for your loved ones.
The best part about crochet wall hangings is that their versatility in size and shape allows for customization based on your preferences. Once familiar with the standard stitch, you can crochet it however you wish to. And the personalized touch becomes even more special when crafted with Symfonie Yarns’ superwash merino yarn that comes in a vast range of vibrant semisolid and variegated hues.
Materials
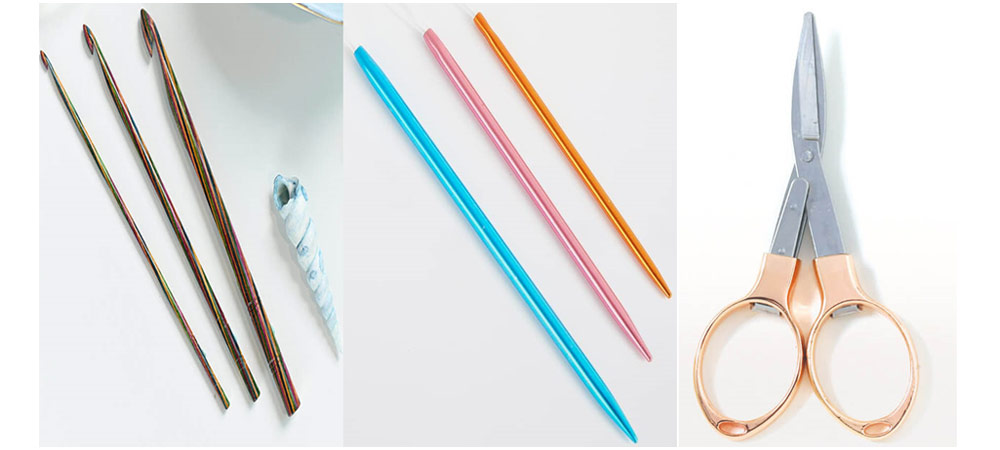
For this project, you'll need some basic materials.
- A fresh skein of Symfonie Yarns in Viva (any color of your choice). Use a variegated hue for an even enhanced stitch definition, such as Summer Romance.
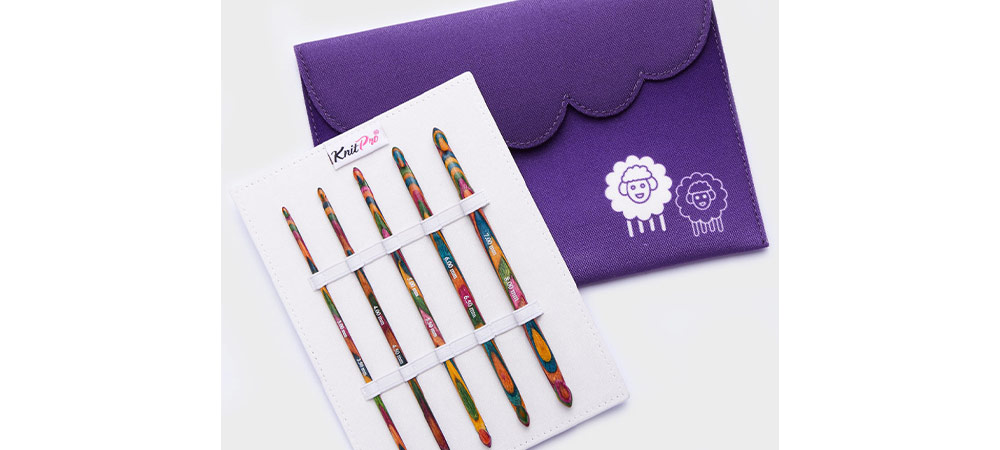
- 3.75-4.5 mm crochet hook
- Tapestry needle to weave in the ends
- dowel-stick to hang your piece
- And of course, a pair of scissors to snip off that extra yarn.
Gauge
The gauge is not crucial for this pattern.
Size
You can easily adapt the size to your desire. Stitch repeats are given below.
Abbreviations
- st = stitch
- ch = chain
- dc = double crochet
- fpdc = front post double crochet
- sl st = slip stitch
Notes
- The turning chain 2 do not count as a stitch.
- Make sure that the yarn changes are on the right side of your work.
- The crochet shorthand used in the pattern is beginner-friendly, making it accessible to crafters of various skill levels.
Special Stitches
- For a front post stitch, you'll be working around the post of the stitch rather than into the top loops.
- Yarn over your hook just like you would for a regular double crochet stitch.
- Insert your hook from front to back and then from back to front around the post of the designated stitch in the row below. Your hook should now be positioned behind the stitch.
- Yarn over again and pull up a loop around the post of the stitch. You should now have three loops on your hook.
- Yarn over again and pull through the first two loops on your hook. Yarn over and pull through remaining loops remaining two loops on your hook to complete the stitch.
Instructions
- With your hook, ch 30 + 2 (or you can increase or decrease the chains according to your preferred size, just make sure it’s an even number).
- Row 1: Make a dc in the third chain from the hook, continue until the end of the row.
- Row 2: Now chain 2, do a dc, and then work [fpdc, dc 2] until the last 2 stitches. Wind it up with fpdc and a dc. Turn your work and chain 2.
- Row 3: For this row, you’ll make a dc and then work [dc, fpdc 2] until the last 2 stitches. Make 2 dc in the remaining stitches and turn your work.
- That’s it! Repeat the above two rows until you reach your desired length. Finish with a Row 2.
Fringe
To create the bottom fringe, cut 30 pieces of your yarn (the same number of your initial chain count). Make sure they’re all the same size; you can use the first strand you cut as your ruler. Cut them about 10 inches long, depending on the size of your wall hanging. Attach these strands individually in each stitch across the last row. Feel free to add the fringe anywhere on your wall hanging; it gives a charming look to your finished piece.
Assembly
- Thread the yarn needle with the same yarn used in your project.
- Wrap the yarn around the dowel stick.
- Insert the yarn needle into the same stitch where you started wrapping.
- Secure the yarn by wrapping it around the dowel and inserting the needle in the next stitch.
- Repeat this step until you reach the end of the row.
- Once you have wrapped the yarn around the entire dowel, fasten off the yarn securely.
- Ensure the wrap is tight and evenly spaced for a polished finish.
Hanger
- Begin by creating a slipknot with your yarn.
- Attach the slipknot around the right side of the dowel stick.
- Chain (ch) 36 stitches.
- Slide the last stitch of the chain onto the last stitch on the dowel.
- Tighten the slipknot around the dowel.
- After attaching the chain to the dowel, fasten off the yarn.
- Ensure the hanger is securely attached and centered on the dowel, so that your finished piece hangs evenly on the wall.
Blocking
Once you've completed the crocheting phase of your project, make sure to weave in all the ends. Now comes the blocking part- yep, don’t ignore this step! It helps to straighten edges, even out tension irregularities, and showcase the intricate details of your chosen stitch pattern. It's a small investment of time that yields significant returns, providing a clean, professional look to your finished crochet project. It can make a huge difference in the final presentation of your handmade masterpiece.
There you have it! A must-try gift pattern that makes for a memorable present your loved ones will cherish. With Symfonie Yarns’ stunning hues and remarkable quality, your handmade creation will give any home décor a major glow up!
-
- 18 May,2024
-
- 16 May,2024
-
- 10 May,2024
-
- 06 May,2024
-
- 30 Apr,2024
-
- 25 Apr,2024
Copyright © Symfonie Yarns 2024 - all rights reserved